Photo Tips
Page 1 of 1

Photo Tips
![]() by CallaLily Tue 12 Jul 2016, 6:17 pm
by CallaLily Tue 12 Jul 2016, 6:17 pm
Tips for Compact/Point and Shoot Camera Users
- Small spaces and Setups
Setting up a small space for your mouse to play in means that you won't have to chase him around with the camera. Some good options are a shelf cubby, a side table, a chair, or even on your tank lid. Another option is to set up a "novice studio" (seen below).
Setting up props and then placing your mouse in the area is a good way to capture your mouse exploring and discovering things. Try making noises, calling your mouse's name, softly blowing, or dangling something above his head/in front of the camera. Also experiment with treats (like a dab of olive oil) to get a mouse to hold still or to encourage them to explore something specific. - Composition
It's sometimes easiest to take pictures of a mouse from further away and then edit to zoom in and crop later. This will also help you frame your picture interestingly (ie, not centered and boring).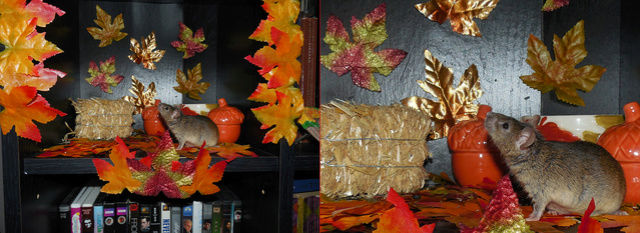
- Lighting
Good lighting is a must. This will help the shutter speed a great deal, making for clearer pictures. The best way to do this is to have good top light and side lighting. For example, set up under an overhead light, and then place a lamp on each side of the mouse. Natural, even light is also wonderful and can be found in a window or (carefully, if the weather is nice) outside. If you need to use a flash, it's best to back away from your mouse a bit... This usually works well with the composition tips mentioned above. - Focus your camera where you expect your mouse to be
Mice are fast, and sometimes when you push the shutter button, there's a delay while the camera focuses. By the time your picture is actually taken, the mouse has moved and you missed a great shot! Focusing your camera on one spot where you expect your mouse to be can help ensure that you get the picture you want. - Take many, many, many pictures for a few great ones
In one photo session, you might take 100s of pictures and end up with only a handful that are worth sharing.
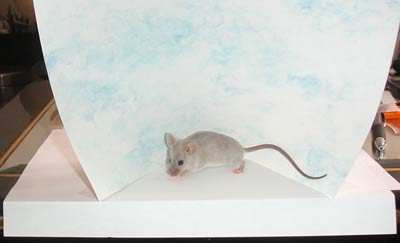
A novice studio
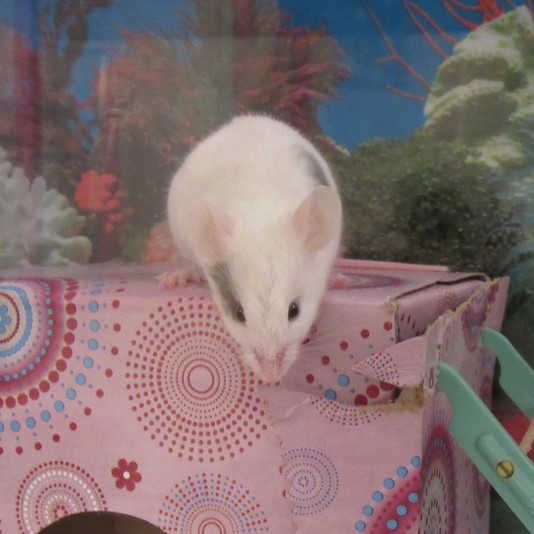
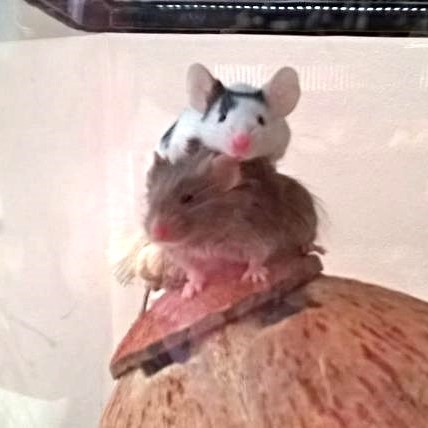
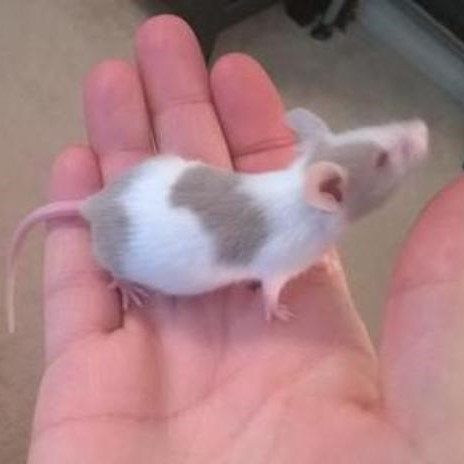
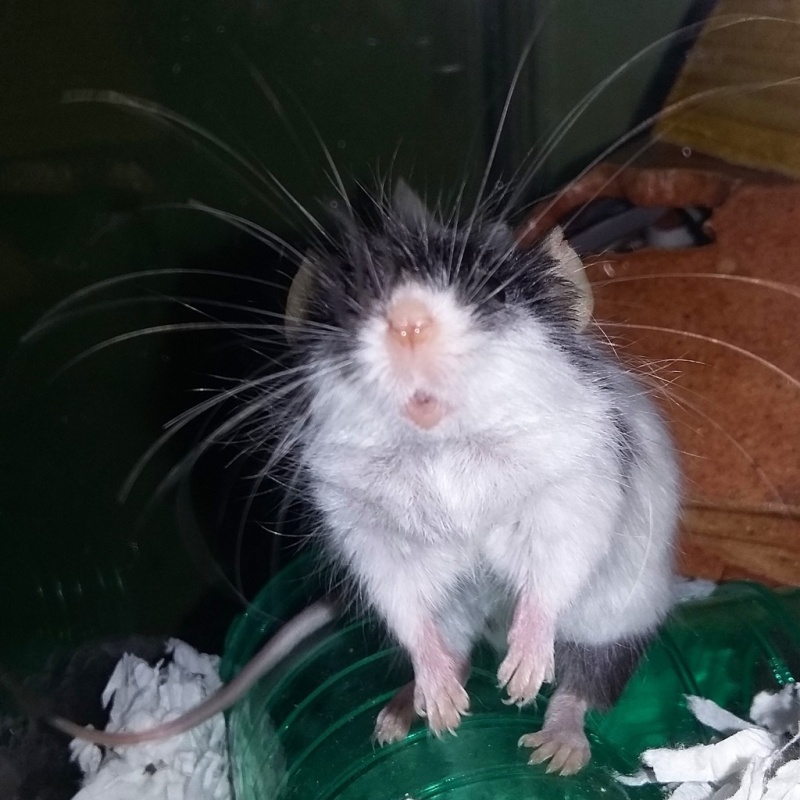
Setting up a novice "studio" can be very inexpensive and require minimal time. If you take two pieces of paper and tape them together as shown in the picture below, you have a perfect setting. You can get creative by using different color paper for the background. Using the two pieces of paper method, you not only have a great background but you have a small area that your mouse can move in. A smaller area makes taking pictures a lot easier. The mouse moves around a lot less therefore you get less blur and better angles. Setting mice on something they can run on only makes for a game of tag because you have to "chase" the mouse with the camera. Make sure that the top piece of paper is taped all the way around to the bottom one. If it's not then the mouse will go under it. Also when you tape the top paper on, make it overlap/hang off the sides of the bottom piece of paper at the front. This helps prevent the mouse from just walking around it to get to the other side.The "Studio"
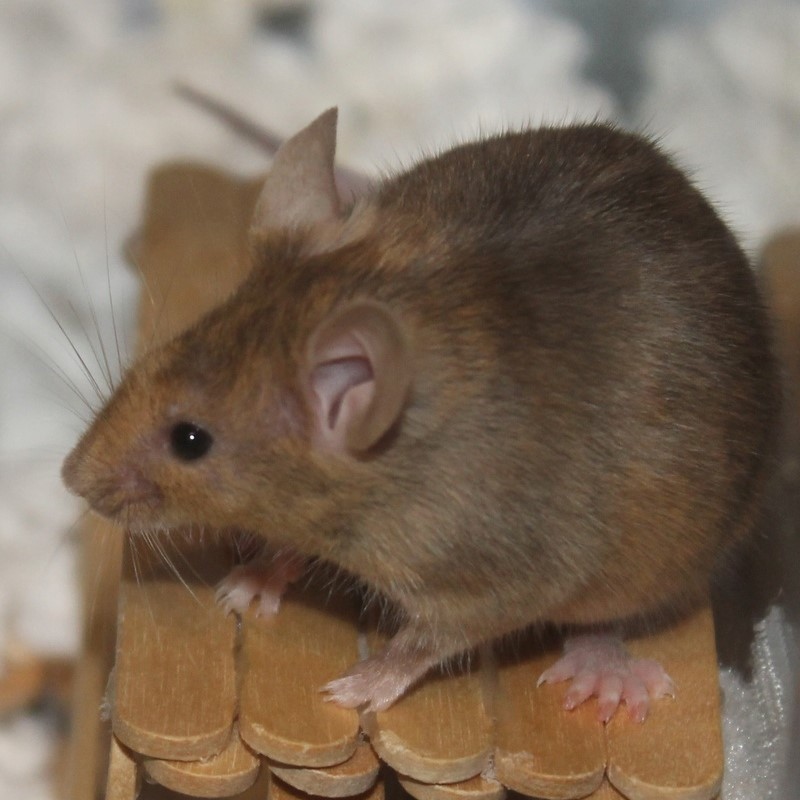
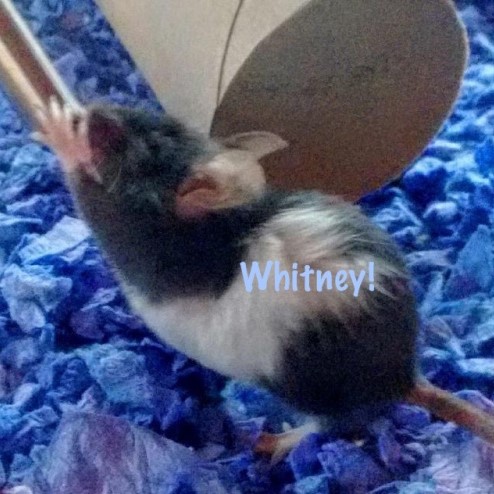
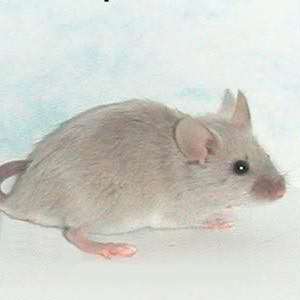
This is the picture that "studio" gave. This is the same mouse, in a different position.
Professional Studio
Everything stated in the above sections for novices about lighting, etc is also very helpful here! Pictured below is the setup we used for taking mouse pictures. It is equipped with umbrella lighting and a roll of paper. We all know how much mice love to go to the bathroom where ever they are. Using a roll of paper makes it so you can just cut off soiled sections and use more of the roll for a clean backdrop. We also have a green screen that can be a lot of fun! When using a green screen you can use a program to change the background to anything you want (a flowery background, beautiful curtains, etc). It's just like what they use in the movies. The only down fall to a green screen is with satin and white mice. These mice will pick up the green color in their fur. The way that the program works to change the background is that it takes everything of the same color (green) and replaces it with the special background you select, like flowers. If a mouse has any of that green in it, those parts of the mouse will also become the background, making for an undesirable end result. Satin and white mice absorb the background color, but for the other mice, this is a fun tool to use.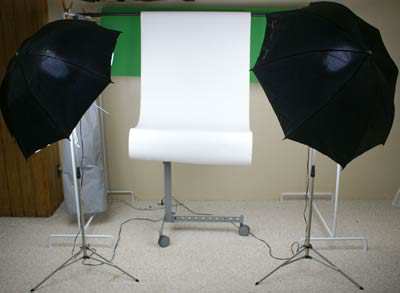
Once you have your pictures taken, you then need a photo editor so that you can crop, scale, play with lighting (we all know how mice often don't show their true color in pics!), and compress it for the web. Have fun taking pictures with your meece!!
CallaLily- Hero Member

- Join date : 2016-04-03
Posts : 3937

Page 1 of 1
Permissions in this forum:
You cannot reply to topics in this forum